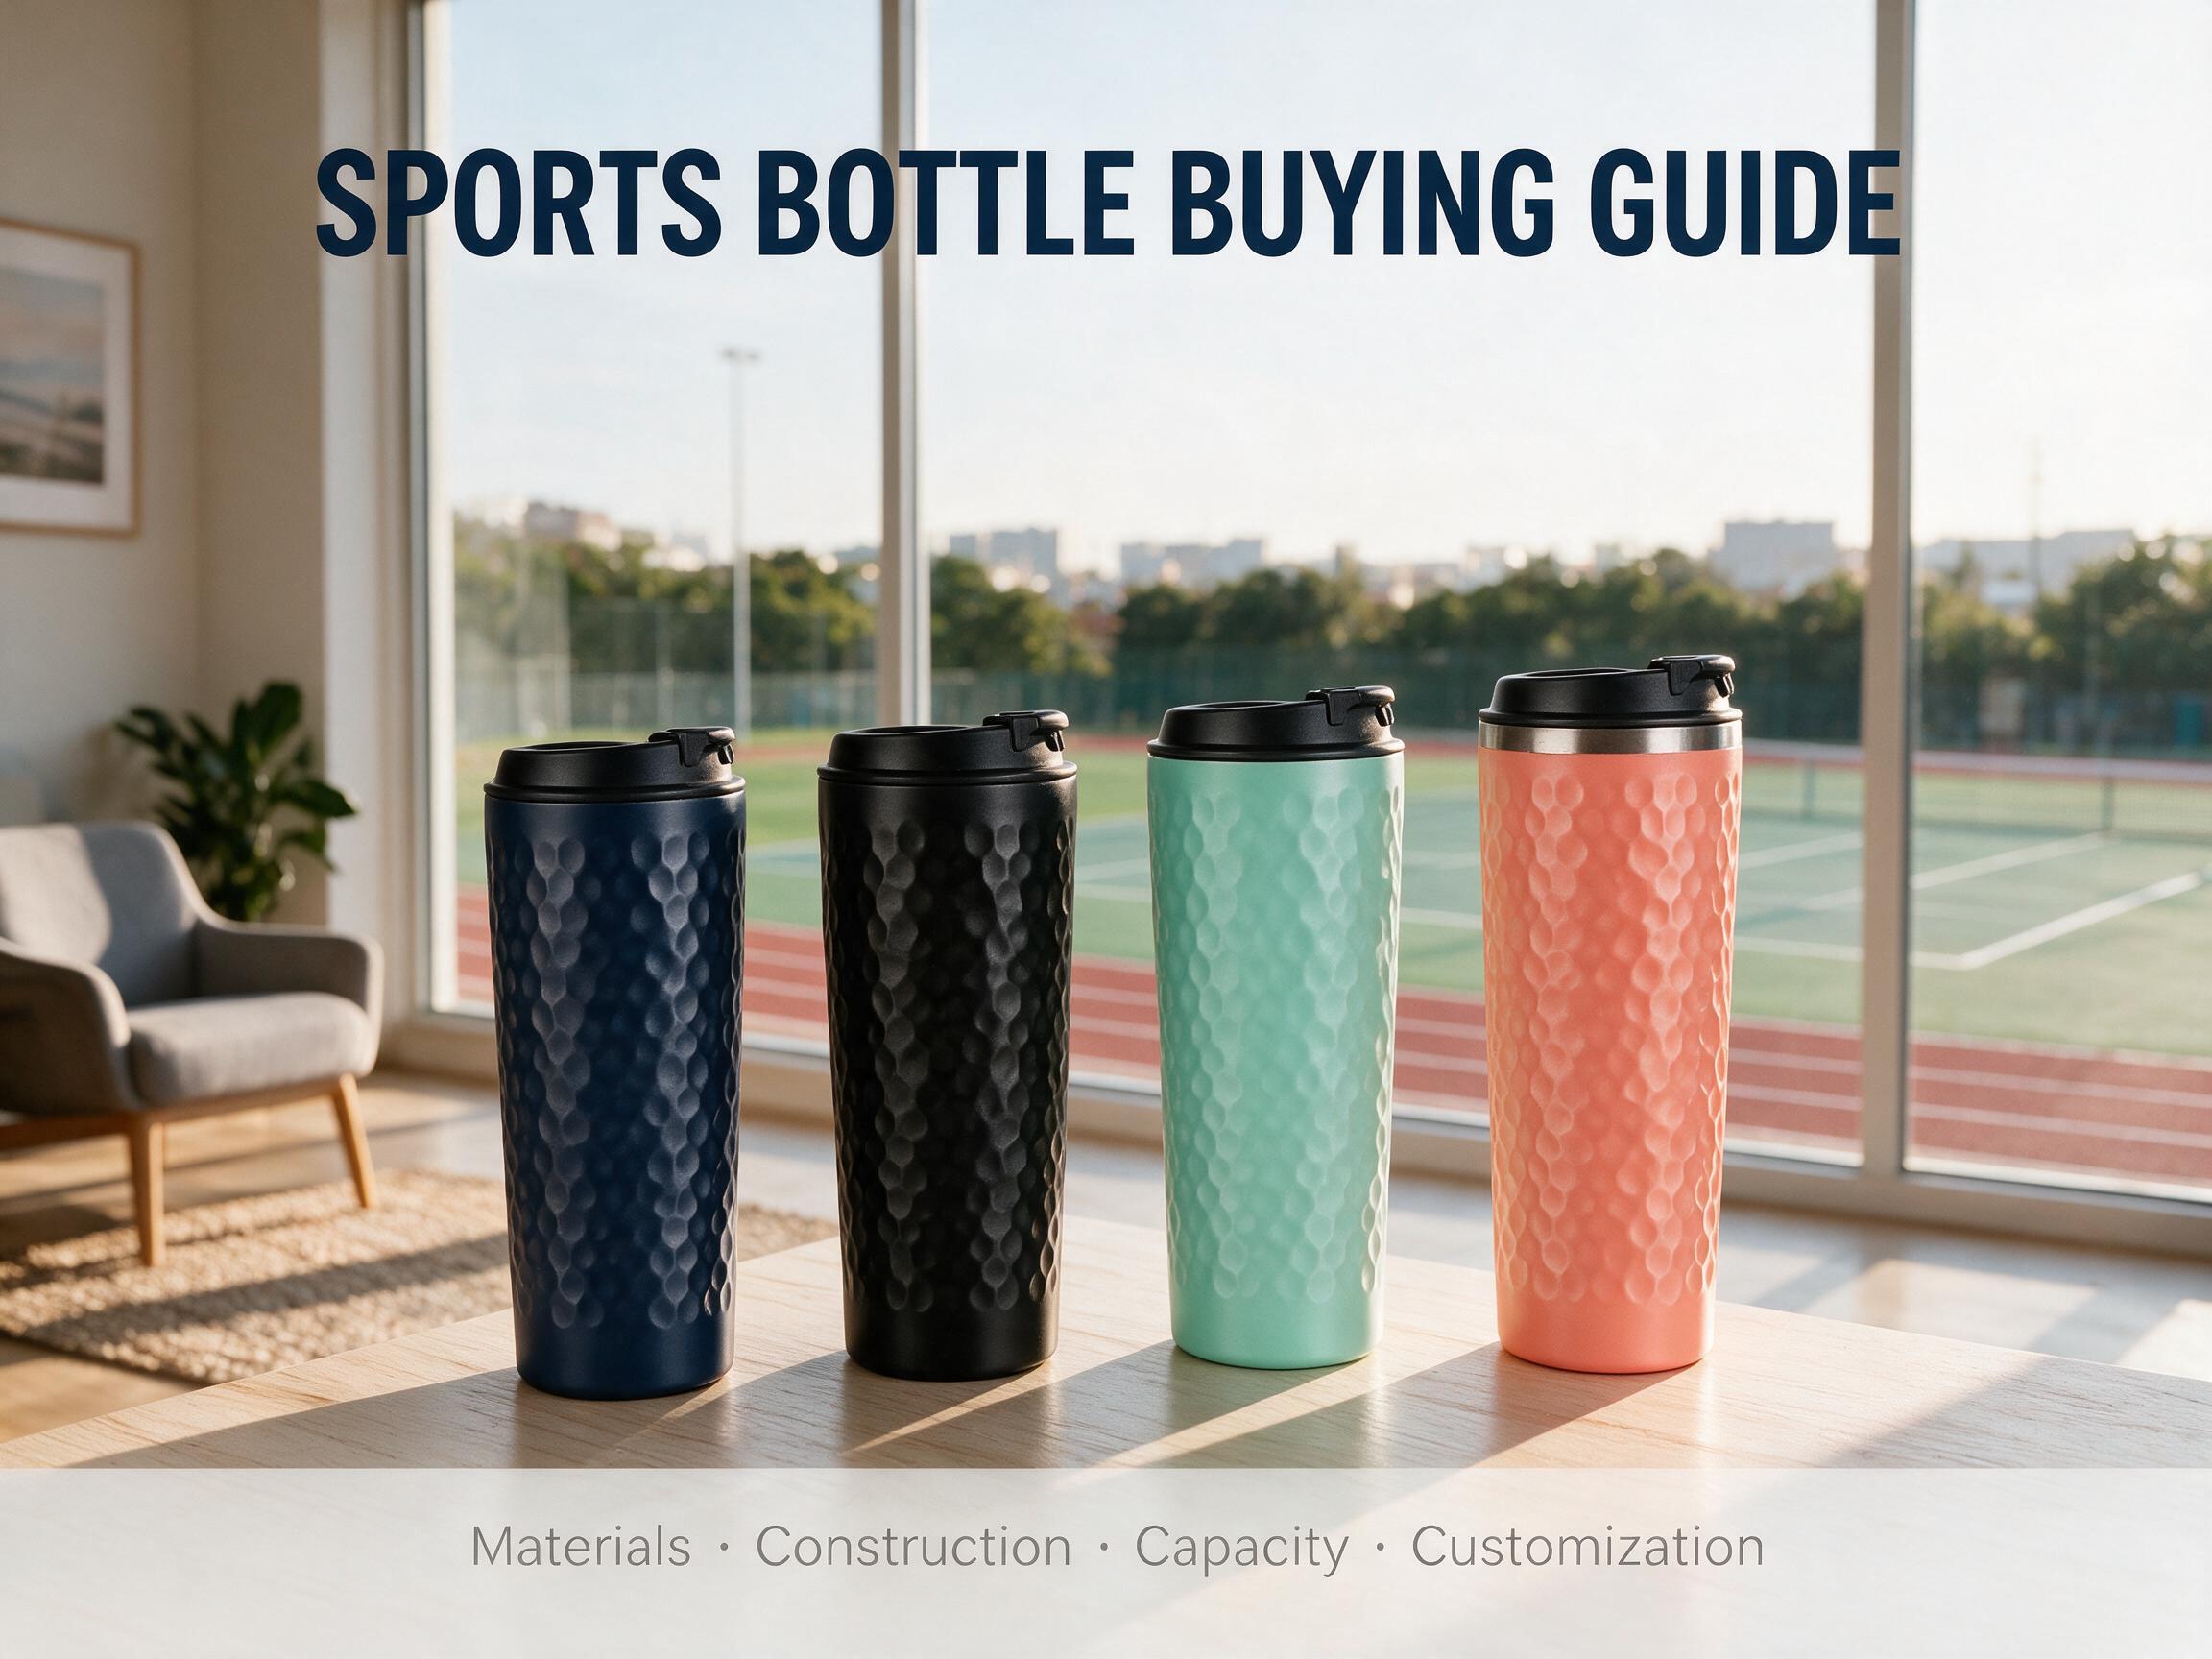
Most people think picking a sports bottle for a brand or program is about color and logo placement. But if you've ever had a shipment of 5,000 bottles land with vacuum failures, leaking lids, or decoration that started peeling within a month, you know it runs a lot deeper than that. The cost of getting it wrong isn't just the returns — it's the emails, the reviews, and the brand damage that follows a product your customers can't actually use.
The bottle you choose has to survive how real people treat it: bouncing around in a gym bag, sitting in a hot car for hours, getting tossed into a commercial dishwasher every night. That means the decisions you make about material, construction, lids, and finishing aren't academic — they're the difference between a product that becomes a daily companion and one that ends up forgotten in a cabinet. Here's what actually matters when you're sourcing for a real brand, a real program, and real end users.
Who's Actually Using This Bottle?
The first thing worth asking isn't what material or what color — it's who will be drinking from it and where. A bottle that works beautifully in a boutique fitness studio can be a disaster at a construction site, and one designed for a school lunch program won't cut it on a retail shelf next to premium competitors. Match the configuration to the application and most of your downstream decisions fall into place.
For gym and fitness studios, the sweet spot is a 20–24 oz double-wall vacuum bottle with a straw lid and a matte powder coat in neutral or pastel tones. Outdoor and hiking brands almost always land on a 32 oz wide-mouth single-wall 304 bottle with a screw cap — something you can clip to a backpack. Corporate gifting programs gravitate toward 16–20 oz tumbler-style bodies with slider lids and laser-ready surfaces, ideally in presentation packaging that makes an impression before the bottle is even unwrapped. School and youth programs need a different playbook entirely: 12–17 oz in Tritan or single-wall 304, with a flip-up spout that's been leak-proof tested and rated dishwasher-safe. Whatever you do, don't go bigger — a 24 oz bottle simply won't fit in most classroom desk storage. For event and race sponsorships, the priority flips to unit cost and turnaround speed: lightweight single-wall aluminum or 304 at 17–20 oz with a full-color wrap print, at an MOQ tier low enough to hand out broadly without blowing the budget.
Capacity selection gets surprisingly predictable once you match it to the distribution channel. Retail and specialty running stores move 20 oz and 24 oz as their core SKUs, with 32 oz as a secondary option. Mass retail and supermarket programs push 24 oz and 32 oz, often bundled as family or outdoor packs. Trade show giveaways almost always land at 17 oz or 20 oz — anything bigger eats into per-unit margins that already have very little room. Unless you have hard end-user data telling you otherwise, start with the two proven performers for your channel and don't add a third SKU until you have at least 90 days of sales to justify it.
The Material Question
Material drives more of your cost, your compliance risk, and your end user's perception of quality than anything else you'll choose. The three options each earn their place — but not in the same room.
Tritan — BPA-free copolyester — is lightweight, transparent, shatter-resistant, and dishwasher-safe. It's the right call when your program is price-sensitive, youth-focused, or handing out bottles at events where retail value matters less than distribution volume. What Tritan won't give you is insulation, dent resistance, or the chemical neutrality of metal. For any bottle that will be used daily for years, Tritan is almost always a second-tier choice, even when the PO price looks tempting.
304 stainless — also called 18/8 — is the quiet workhorse that carries most of the industry. It's chemically inert, doesn't hold flavors, and when paired with a powder coat, wears beautifully over years of use. FDA-compliant out of the box, LFGB-ready with the right testing, and sitting at a cost point that makes sense across retail, corporate, and promotional channels. The overwhelming majority of branded sports bottles shipping today are 304, and unless your use case specifically demands otherwise, it's almost certainly where you should start.
Then there's 316 — 18/10 — which adds molybdenum to the alloy for meaningfully better resistance to chloride corrosion. If your customers are in coastal markets, if the bottles will regularly hold citrus or isotonic drinks, or if your market positioning requires a marine-grade statement, upgrading to 316 is worth the 10–20% unit cost increase. For everyone else, 304 is the correct answer.
How It's Built — Walls, Lids, and What Users Actually Notice
This is where the line between "looks good in a photo" and "works in real life" gets drawn.
On the construction side, you're choosing between single-wall, double-wall vacuum, and — rarely — a thermal sleeve. A single-wall bottle is the lightest and cheapest option. It's correct for event giveaways, ultralight hiking, or anywhere weight matters more than temperature. But don't expect single-wall steel to hold ice for more than a couple of hours — that's not a defect, it's just physics. A double-wall vacuum bottle is the premium standard and what most retail and corporate programs should be buying. The evacuated gap between inner and outer walls kills conductive and convective heat transfer, delivering 24+ hours of cold retention and 12+ hours hot. When you're comparing suppliers, ask specifically whether the inner wall has a copper coating — many budget double-wall listings skip it, and the performance gap is immediately measurable: copper plating typically improves hot retention by 20–30%. Thermal sleeves — basically a neoprene jacket over a single-wall bottle — are a niche middle ground that marginally helps with condensation but doesn't meaningfully change temperature performance. Specify one only if a customer explicitly wants the look.
Lids are where most products lose their users. A screw cap with a loop is the classic — leak-proof, carabiner-friendly, and bombproof for outdoor use, but the slowest option to actually drink from. A straw lid is the fastest and most popular one-handed choice for hydration, though the straw acts as a thermal bridge and will cut cold retention by 2–4 hours versus a sealed cap. Flip-up spouts and chug lids are popular with schools and sports brands that want high flow rates — the vented design eliminates the glugging you get with a full screw cap, but you'll want to test rigorously for drop-induced spills. Slider lids, the tumbler-style option, work beautifully for coffee commutes where heat retention matters and the bottle stays upright in a cup holder. They're not your friend in a backpack.
One small thing that consistently makes a big difference: offer two lid options per bottle body — a standard lid at the base price and an upgrade lid for a dollar or two more. It's a trivial configuration change from the factory side, and at the program level it routinely lifts average order value by 10–15% while making the end customer feel like they got something tailored.
Making It Yours — Branding, MOQs, and the Money Side
Your choice of decoration process affects unit cost, minimums, durability, and — maybe most importantly — how long the product actually looks branded once it's in someone's hands.
Screen printing is the entry-level workhorse: simple, fast, with minimums around 500 pieces. It works fine for bold one- or two-color logos on flat surfaces, but don't expect fine detail or gradients. Laser engraving is a different animal entirely — it removes the powder coat to expose the bare steel beneath, producing a permanent metallic mark that literally cannot scratch off. For corporate gifting and premium retail, it's the single best dollar you can spend on the product. Minimums are typically just 100 pieces and the per-unit cost is comparable to or only slightly above screen print. UV digital printing opens up full-color CMYK with gradients and photographic detail on curved surfaces — incredibly versatile but pricier per unit, with minimums around 300 pieces. Just be aware that UV ink can lift under repeated dishwasher cycles, so always get abrasion and dishwasher test samples before signing off on a production run. Hydro dipping is for full-wrap patterns like marble, camo, or wood grain. MOQs start at 1,000 pieces because each pattern needs its own film run, and you should always pad the PO by 5% to cover dip rejects.
On the business side, MOQ tiers for stocked bodies typically break at 100, 300, 500, 1,000, and 3,000 pieces. Below 100, most factories will still quote but at a meaningful premium because setup costs don't amortize. For fully custom OEM — where colors or molds are yours alone — 1,000 pieces is the realistic floor, with 5,000 to 10,000 as the threshold for brand-new tooling on a unique shape. Lead times for stocked bodies with standard decoration run 15–25 days from confirmed artwork and deposit. Custom powder coat colors add another 5–10 days. Full custom tooling adds 30–45 days for sample mold, injection, and first-article approval. And always, always build in a buffer for peak season — Q3 and Q4 queues for holiday retail programs can stretch quoted times by 50%.
For payment terms on a first order, expect 30% deposit with 70% balance against shipping documents. That's standard and not worth fighting. Where experienced buyers save real money is on the second order — that's when you negotiate better terms like 20/80 or Net-30 after delivery. The factories know you're verified by then, and they'll trade terms for repeat volume.
Before It Ships — What You Actually Need to Check
Even the best factory has a defect rate. What separates smooth programs from expensive disasters is whether those defects get caught at the factory gate or at your customer's doorstep.
For every shipment, verify at minimum six things. First, food-grade documentation: get the Certificate of Analysis for the specific steel batch, the MSDS for silicone gaskets, and food-contact test reports — FDA, LFGB, or REACH as applicable — tied to the exact production run, not a generic factory certificate. Second, vacuum integrity: take 10% of your sampled units, fill them with boiling water, cap them, and check the exterior after ten minutes. If the outside is warm, the vacuum has failed and the bottle is cosmetic only — reject the lot. Third, leaks: fill with water, close the lid, shake it hard, and invert for a full minute. A failure rate above 2% across the lot is grounds for rejection. Fourth, decoration adhesion: do a cross-hatch tape test on printed or engraved surfaces per ISO 2409 — any ink lift fails. Fifth, threads and gaskets: remove and replace each lid ten times. Threads should turn smoothly without cross-threading, and gaskets should stay seated without adhesive. Sixth, packaging and marking: verify UPCs, barcodes, country-of-origin marking, and every required warning label. A perfect product in wrong packaging is still a return from any retail customer.
A quick decision framework ties it all together: if the bottle is a one-off giveaway with a $2 unit budget, go Tritan single-wall with screen print at 17 oz. For corporate gifting under $10, go 304 double-wall with laser engraving at 16–20 oz, and offer a second lid. For a retail SKU targeting outdoor, go 304 or 316 double-wall with a copper-plated interior at 24–32 oz with a wide mouth. If the market is coastal or dishwasher-heavy, upgrade to 316; otherwise 304 is the right call. And no matter which path you take, run that vacuum, leak, and adhesion check on every single shipment. The right sports bottle isn't the cheapest one — and it's rarely the most expensive, either. It's the one that lines up with how your customers actually live, and survives long enough to keep your brand on their desk, in their bag, or on their trail for years.